Thursday 24 February 2011

K-9 Head, take 3, days 10 & 11

As I wasn't quite happy with one side (It is just me being fussy and I know it is my fault for not reading the instructions properly!), I have put in a bit of car bog and started working to get the correct shape.  I have also filled in gaps etc (covering my sins!).  It looks a mess now, but I am sure it will come out ok.  After I get it right I will add the final neck pieces.


Tuesday 15 February 2011

K-9 Head, take 3, day 9

Having had friends over I had not had a chance to work on K-9, instead I was taking photos like this:


However, I am back from the outdoors and my work place.  I have trimmed the upper piece, reinforced more of the joints with fibreglass and also cutout the top of the Inner Bezel support along the scored lines I made earlier.


 I trimmed the cut piece and placed inthe upper piece to reinforce it.  I also fibreglassed that area too.

Saturday 5 February 2011

K-9 Head, take 3, day 8

I have skinned the rest of the side. It has come out much better than the other one.  I would recommend that you do the bottom/back sinning first (as per instructions), then the top, then sides.


Thursday 3 February 2011

K-9 Head, take 3, day 7

It was the next day and I was set on the right track.  So the photo below now, it is looking a bit more like Dave's plans.  I marked the back and where the sides and top were., then cut it out as per instruction and glued it, but I had not glued the sides yet.


I used a clamp to hold it on the top part.  It was actually hard to get the curve, but bending the 1mm strene a few times it took the shape.


Once the glue had cured, it was ready for the next stage.  However, it was still very hard to finish off the side skin with the styrene.  When I glued it wasn't right.  I felt that a top part was required now for the sides to take the proper shape.  So that's what I was going to do so that the other side at least would be easier to do and also wouldn't have to be fixed up.


This is a view of the back with the back and side skins on.  The curve of the side skin doesn't look quite right to me.
Sigh. 

From the side view. I am not liking the crease the skin has. I hope I can get it out with a bit of bog and sanding...
To make the top piece I printed out the top panel from the Lespaceplie K-9 Plans. I then glued the printed paper pattern it to a 1mm styrene sheet and then cut it out.  I then measured it against the head I had and trimmed it down slightly to fit, then glue it into place.


With the top panel on, I could star gluing the other side skin.  It seemed to glue one much easier than the other side and tape the shape a lot better.


Wednesday 2 February 2011

K-9 Head, take 3, day 6


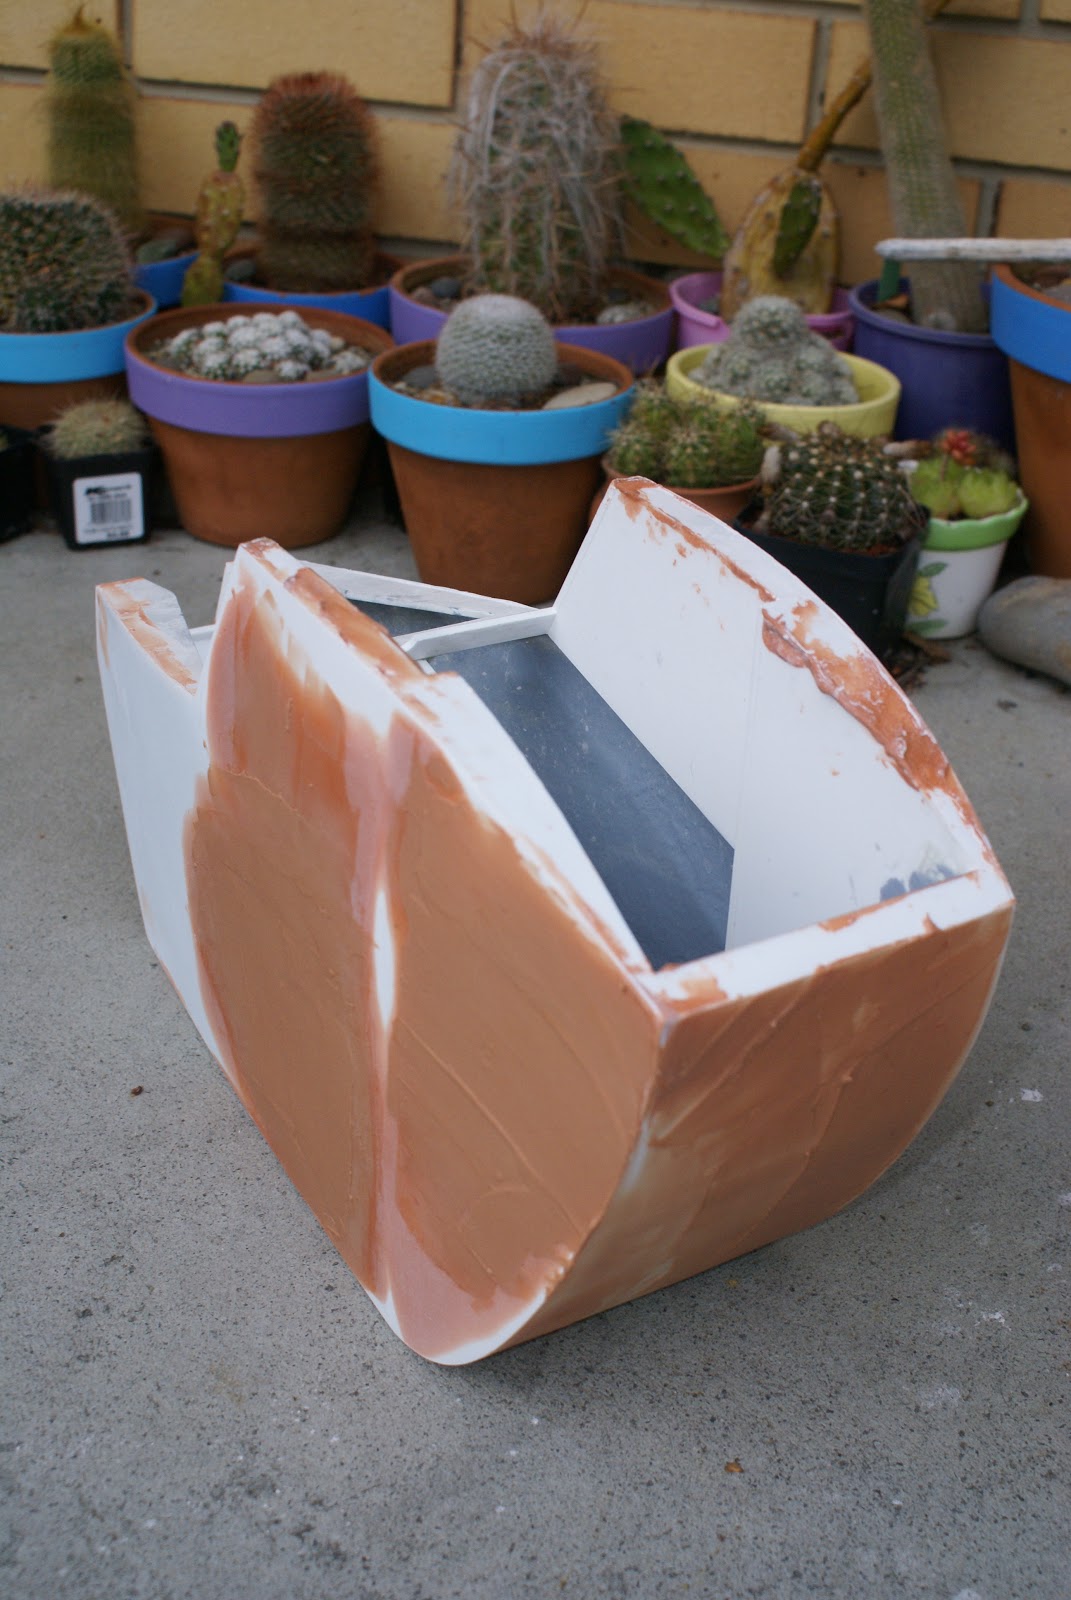
Always worrying what kids can do to a prop when it is around them, I have decided to reinforce the head using fiberglass resin. I have used a plaster's tape, with has an open weave and a sticky side to do the initial reinforcement.  The plaster's tape provides more control than regular glass mat, especially in those tight places.


Below is a close up of the reinforced joints.


Now I am trying to skin the side of the head with 1mm styrene. WARNING: THIS IS NOT THE NEXT STEP YOU SHOULD DO!!!! I stuffed up, I admit it!  I accidentally got my instructions mixed up because they were not stapled together. So this is what I think the next bit should be:

  1. Skin the bottom and back of the head, as per Page 8 of Dave Everett's instructions.
  2. Add a top section that covers the Inner Bezels and glues to the top of the Back Support Bulkhead (this is a divergent bit from the instructions).
  3. Skin the sides of the head, as per Page 11 of Dave Everett's instructions.

However, I am blogging what I did, so here it is in order...

I glued the front half of the head to the 1mm styrene sheet.


I used a LOT of masking tape and also clamps to keep the styrene to the edges of the head frame.


As one part of the clue cured I moved on further.  As the tape was rather tight it would unstick sometimes so I used smaller clamps on the other side to hole the tape under the correct tension.


There were one or two points that needed a bit more glue, but by the end of the day I had a gap at the back, but I didn't know how to attach it to the sides!  I needed that back piece that skinned the underside and the back for this to attach to. (Thanks Dave for showing me that I got things the wrong way round). :-)